自造星球-创客空间 - 讨论区
标题:使用ENC28J60模块实现单片机联网

2015年06月05日 星期五 09:06
在这个万物都可以联网的时代,我们必须掌握如何让单片机能够连接到互联网。
Arduino有一个官方的Ethernet Shield,使用的是W5100方案,这个方案造价比较高,在淘宝网上,国产的价格在30元左右。我今天介绍的是另外一个廉价的解决方案,这个方案使用的是Microchip的ENC28J60芯片,在淘宝网上,国产的价格基本在10元钱左右。
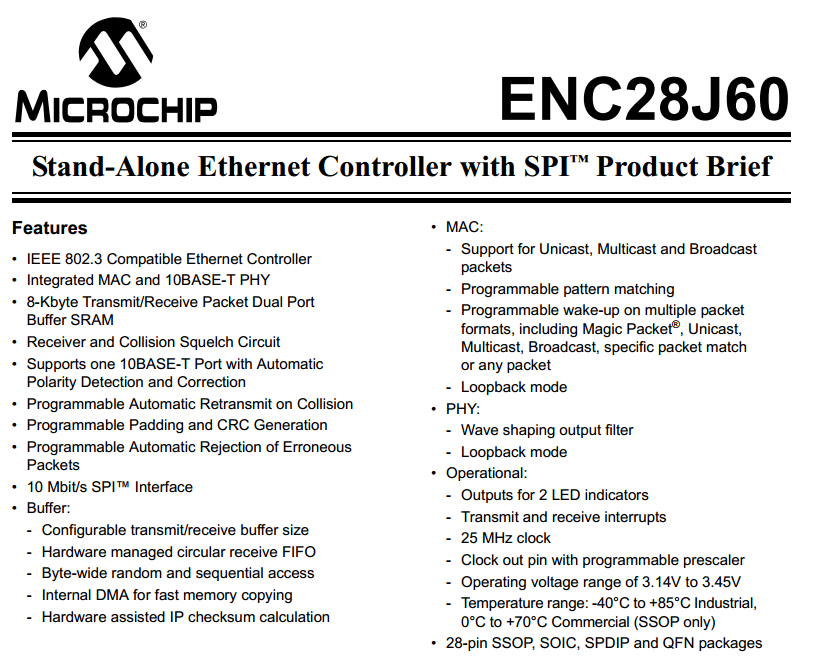
ENC28J60通过SPI接口提供了10BASE-T以太网的功能:
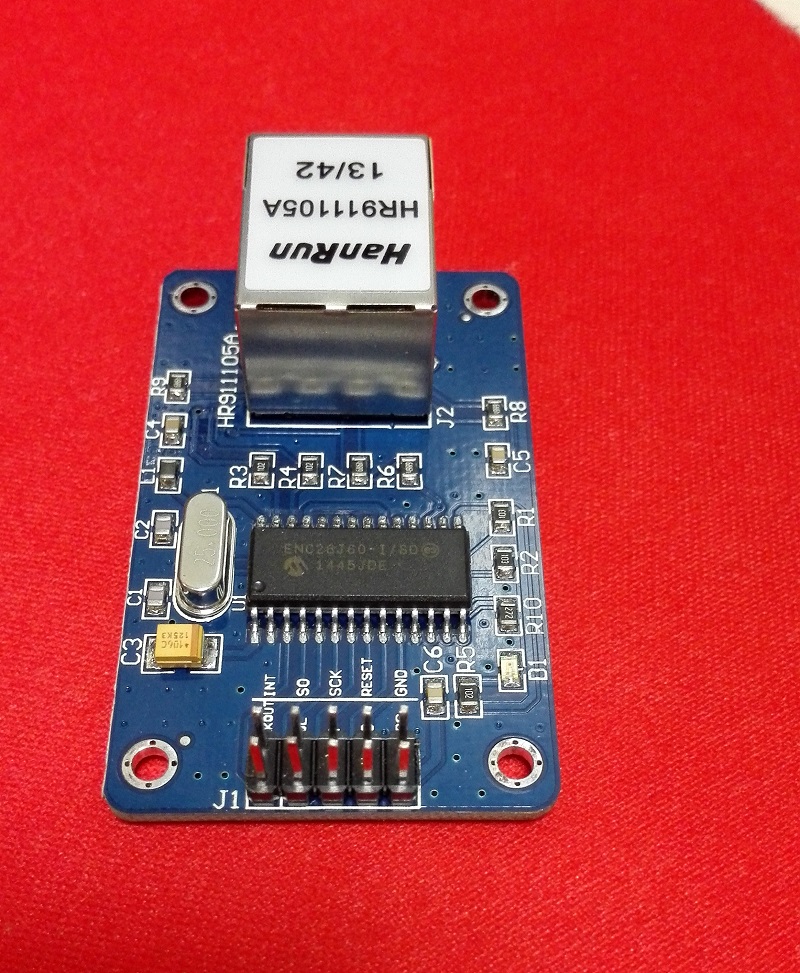
我拿到的模块:
在GitHub上,有一个很好用的Arduino Library来驱动这个模块:
https://github.com/jcw/ethercard
使用这个Library的步骤如下:
1,下载这个模块的zip包。
2,打开Arduino IDE,选择Sketch -- Include Library -- Add .ZIP Library,然后选择刚才下载的zip包。
3,在Arduino IDE中,选择File -- Examples -- ethercard-master ,然后选择一个示例,按照自己的需求修改即可。
我选择的是udpListener这个示例,做了一些修改,可以正常编译运行。
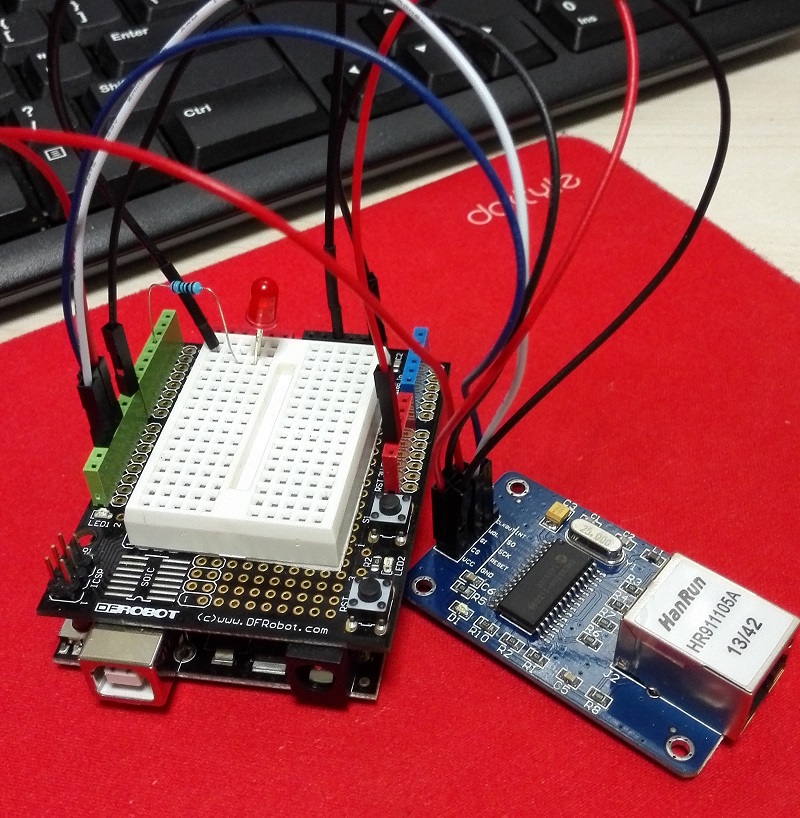
电路的连接方法如下:
ENC28J60 - Arduino UNO
VCC - 3.3V
GND - GND
SCK - Pin 13
SO - Pin 12
SI - Pin 11
CS - Pin 8
Arduino程序代码如下:
// Demonstrates usage of the new udpServer feature.
//You can register the same function to multiple ports, and multiple functions to the same port.
//
// 2013-4-7 Brian Lee <cybexsoft@hotmail.com>

#include <EtherCard.h>
#include <IPAddress.h>

#define LED 3

#define STATIC 1  // set to 1 to disable DHCP (adjust myip/gwip values below)

#if STATIC
// ethernet interface ip address
static byte myip[] = { 10,205,48,8 };
// gateway ip address
static byte gwip[] = { 10,205,48,1 };
#endif

// ethernet mac address - must be unique on your network
static byte mymac[] = { 0x70,0x69,0x69,0x2D,0x31,0x32 };

byte Ethernet::buffer[500]; // tcp/ip send and receive buffer

//callback that prints received packets to the serial port
void udpSerialPrint(unsigned int dest_port, unsigned char src_ip[4], unsigned int src_port,const char *data, unsigned int len) {
  IPAddress src(src_ip[0], src_ip[1], src_ip[2], src_ip[3]);
  Serial.println(src);
  Serial.println(src_port);
  Serial.println(data);
  Serial.println(len);
  if(strcmp(data,"on")) {
    digitalWrite(LED,1);
  }else {
    digitalWrite(LED,0);
  }
}

void setup(){
  Serial.begin(57600);
  Serial.println(F("\n[backSoon]"));
  pinMode(LED,OUTPUT);
  digitalWrite(LED,0);

  if (ether.begin(sizeof Ethernet::buffer, mymac) == 0)
    Serial.println(F("Failed to access Ethernet controller"));
#if STATIC
  ether.staticSetup(myip, gwip);
#else
  if (!ether.dhcpSetup())
    Serial.println(F("DHCP failed"));
#endif

  ether.printIp("IP:  ", ether.myip);
  ether.printIp("GW:  ", ether.gwip);
  ether.printIp("DNS: ", ether.dnsip);

  //register udpSerialPrint() to port 1337
  ether.udpServerListenOnPort(&udpSerialPrint, 1337);

  //register udpSerialPrint() to port 42.
  ether.udpServerListenOnPort(&udpSerialPrint, 42);
}

void loop(){
  //this must be called for ethercard functions to work.
  ether.packetLoop(ether.packetReceive());
}
更多的API可以参考EtherCard.h文件,里面的注释很丰富和清晰。
我用PHP写了一个简单的客户端程序,用于向Arduino发送数据,来控制Arduino上面的LED,代码如下:
<?php
$fp = fsockopen("udp://10.205.48.8", 1337, $errno, $errstr);
if (!$fp) {
    echo "ERROR: $errno - $errstr<br />\n";
} else {
    for(;;){
    	fwrite($fp, "on");
	echo "on\n";
	sleep(1);
	fwrite($fp,"off");
	echo "off\n";
	sleep(1);
    }
}
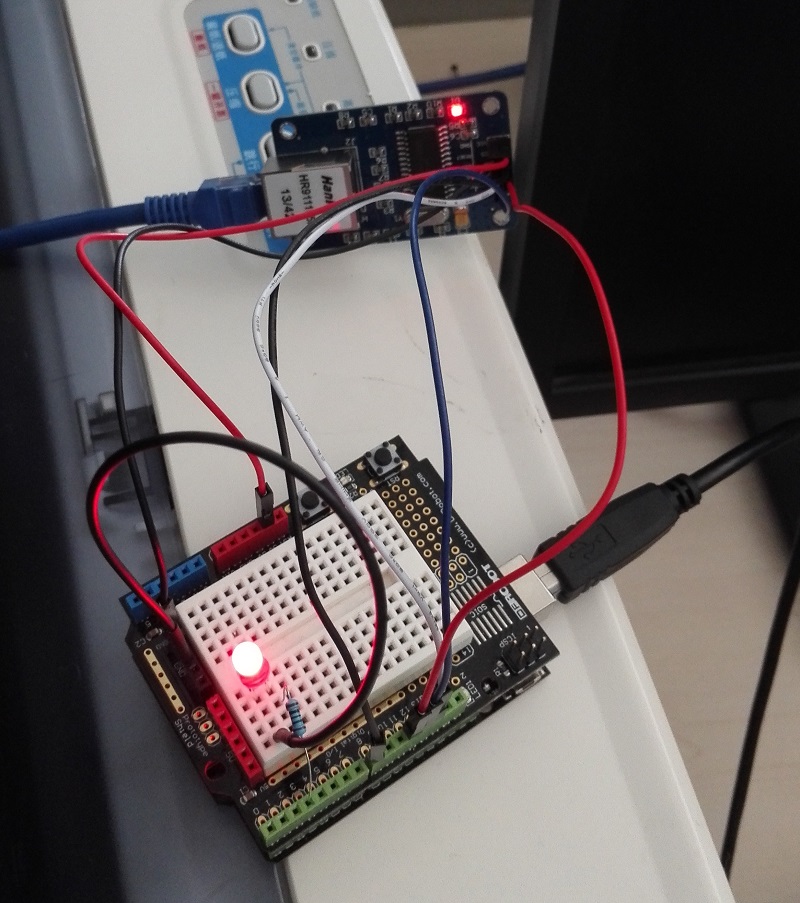
实际连接效果:
插上网线加电实际运行效果:
参考资料:
https://github.com/jcw/ethercard
http://www.datasheetcatalog.com/datasheets_pdf/E/N/C/2/ENC28J60.shtml


Zeuux © 2026
京ICP备05028076号